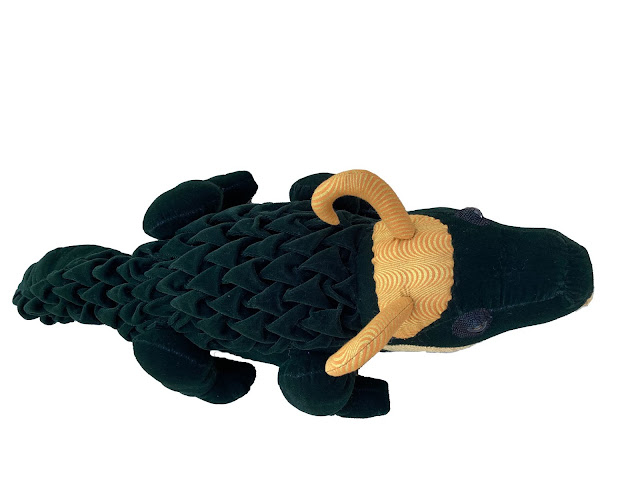
I love smocking, and have plans to use it on several future plushie patterns. This tutorial focuses on Arrow Smocking (the type used in my Grinning Gator pattern- available here).
Smocking is not difficult, but it is time consuming. The good news is that hand stitching is portable and it is something you can do on the train, waiting for a doctor's appointment, while watching tv, or even while supervising kids at the playground.
Materials Needed for This Tutorial:
- At least 12" x 12" scrap of midweight woven fabric (quilting cotton).
- Marking tool
- white gel pen or metallic sharpie for dark fabrics, marker that disappears with water, crayola washable marker, etc. Note that marks may show on the front of the fabric so test any fabric you want to use for an actual project.
- Pegboard (my favorite), quilting ruler, or DIY template with holes in a grid 1". At least 10" x 10" needed
- Hand sewing needle and thread
- Thimble (highly recommended)
Marking the Fabric
1- Marking the Grid
2- Marking the Arrows
Let's Get Sewing
Look at Finished Front and Back
A 10" x 10" arrow smocked square results in a 3" x 6" smocked piece. Note that much more width is taken off than length.
You Can Do It!
I can't wait to see what you do with smocking! It is such a fun technique and makes such cool effects for final projects.
Join the Community
Instagram: @FosteringSewingPatterns #FosteringSewingPatterns
Facebook: Fostering Sewing Patterns Group


This looks SO easy!! Gonna try this out on my Gator!
ReplyDeleteYay! It is so fun :) I can’t wait to see what you make!
ReplyDelete