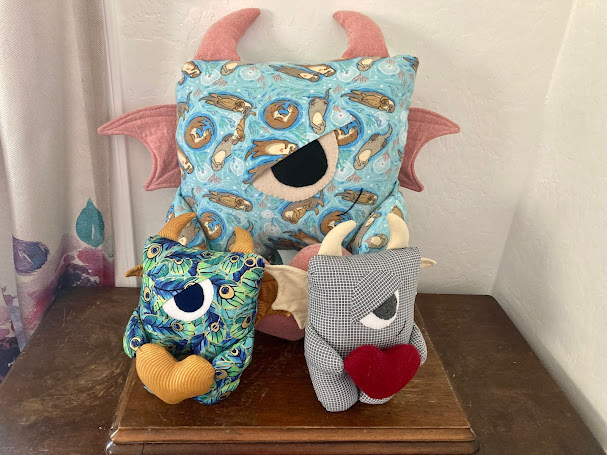
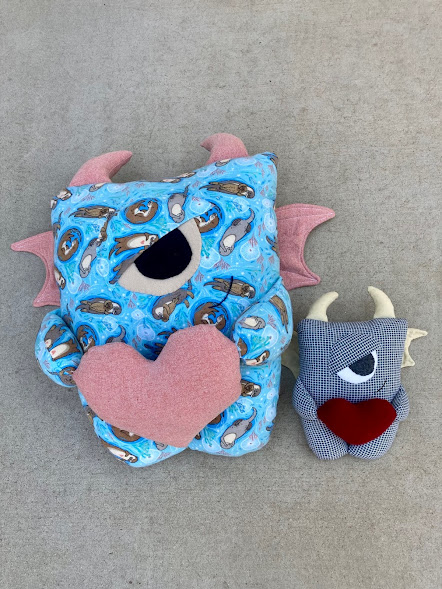
This tutorial uses my Cuddle Monster pattern (which can be found at my Etsy shop https://www.Fosteringsewing.etsy.com ) However, these same principles can be applied to any digital pattern.
For this tutorial, I am using Adobe programs on my Windows computer. The printing specifics may look a little different on a Mac, but the math and other tips remain consistent.
Printing a Pattern at 200%
I love an oversized stuffed animal. It makes the plushie more huggable and can create a place for children to cuddle up and read, or to play wonderful imaginary games.
To print at 200%, you will select the print button. The first page will look something like this. You will keep the scale to actual size or custom scale to 100% on the first page.
After this, select "Poster" from the buttons on the middle of the page. The screen will now look like this. Create a tile scale of 200%. You may want more overlap in your pages, but the preset size works fine for me.
Notice that each page of the pattern will now print as 6 pages. You will need to tape these pages together once they are printed.
This is how the pages look once they are taped together. Note that printing a pattern like this means that there is less help in lining up the pages than there is on a PDF pattern that is designed to print on multiple pages.
My printer actually prints some pages a little off center, so I recommend using the lines of the patterns as a guide instead of the edges of the page. It is okay if the pages are a little uneven, as long as the lines of the pattern line up.
The first page of any digital pattern usually has a box to help you make sure that the pattern has printed at the right scale. If your pattern has one, it is a good idea to double check it after printing. My pattern's print box check is 2"x2". It should now measure 4" x 4" (a 1"x1" box will now be 2"x2"). Basically multiply the original measurement by 2 to get the new scale.
Seam Allowances at 200%
Whenever you print a patter at a different scale, the seam allowances change as well. I like printing at 200% because a 1/4" seam allowance scales up to a 1/2" seam allowance. This means that you can cut and sew the pattern as is, with only the change of sewing 1/2" seams.
Note that some patterns have hand drawn seam allowances and may need you to true up the seams to 1/2" all of the way around. My patterns have the seam allowances added digitally, meaning they will all scale to a true 1/2".
Other Considerations at 200%
Note that facial details may look different at this scale. Take extra time choosing eyes, noses, placement, etc. This can make a huge difference in the final look of your plushie.
A pattern printed at 200% takes 4x as much materials and stuffing as the original pattern. Plan for this so you are not caught off guard by the need for extra materials.
Want to shrink a pattern to 50%? Check out this blog post!


Comments
Post a Comment